


· By Shopify API
Tandem Mobi Stickers: Application Tips for Beginners
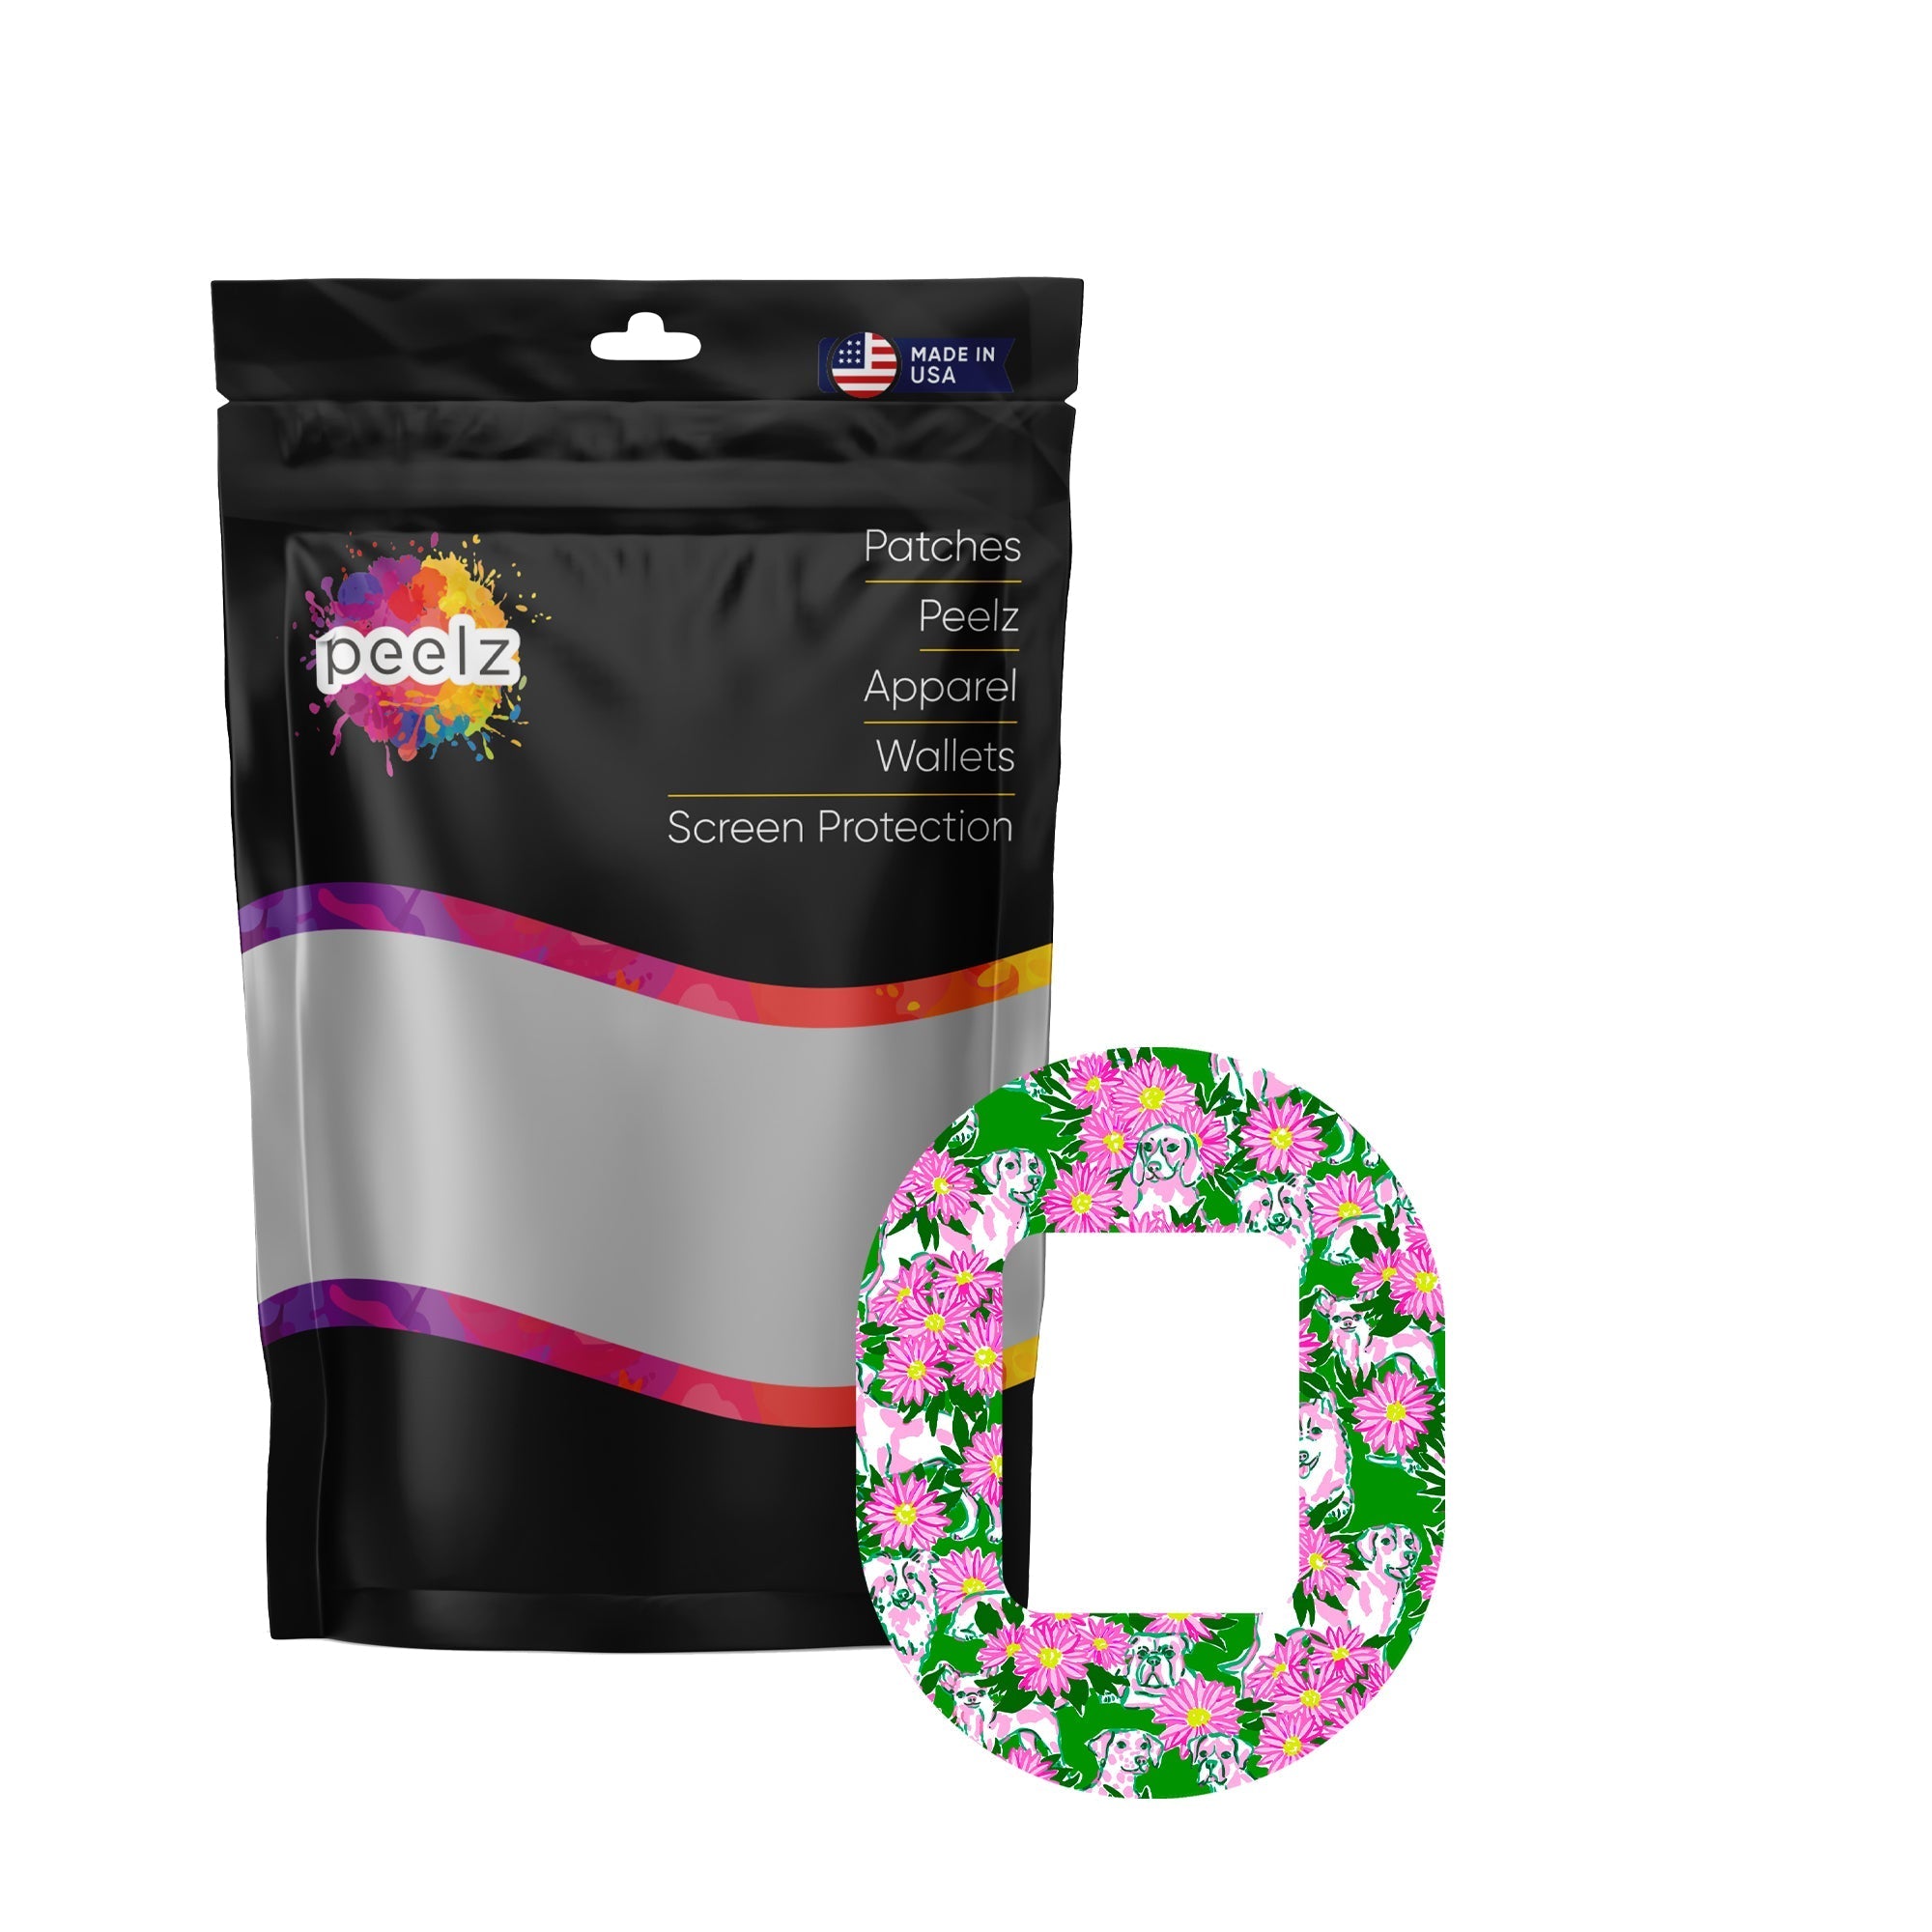
Tandem Mobi stickers are a great way to personalize and protect your diabetes pump. They add style, guard against scratches and UV damage, and make your device feel more like your own. Here's how to apply them successfully:
- Prepare the surface: Clean your pump with a damp microfiber cloth and mild soap. Dry it completely with a lint-free cloth.
- Set up your workspace: Use a flat, well-lit surface to work on, and keep your tools (microfiber cloth, mild soap, sticker) handy.
- Apply the sticker: Align it carefully, peel back a small section to anchor it, and press down gradually to avoid air bubbles.
- Maintain durability: Keep the sticker dry, avoid lotions or sprays, and secure edges with low heat if needed.
Before You Start
Supply List
Having the right tools ready makes applying your sticker much easier. Here's what you'll need:
- Microfiber cloth for cleaning
- Mild soap and water for removing oils or residue
- Lint-free cloth for drying
- Good lighting (a desk lamp works great)
- Flat, stable surface
- Your Tandem Mobi sticker
Keep everything within reach so you can stay focused. Once your supplies are ready, it's time to prepare the surface of your pump.
Surface Preparation
A clean surface is key to ensuring your sticker sticks well and lasts. Use a damp microfiber cloth to clean your Tandem Mobi pump. For stubborn oils or residue, add a little mild soap. Be cautious around the buttons and screen to avoid damage.
"The first step for successful sticker application requires a good, clean, smooth surface!" – Stickerface
Before applying the sticker, make sure to:
- Wash off any lotions, sunscreen, or bug spray from your hands and the pump.
- Completely dry the pump with a lint-free cloth.
Workspace Setup
Create a clear, well-lit workspace to make the process easier.
Workspace tips:
- Clear off your work surface.
- Position your light to avoid shadows.
- Keep your cleaning tools nearby.
- Sit in a comfortable spot for steady hands.
Taking a few moments to set up your workspace can make all the difference. Once everything is ready, you're set to apply your sticker with ease.
How to Apply Stickers
Size and Fit
Before applying your Tandem Mobi sticker, make sure it matches your pump's size and shape. Each sticker is pre-cut to fit specific areas, so take a moment to align it with buttons, screen openings, and other features.
If you notice any slight overhang, carefully trim the edges with sharp scissors. Be cautious not to damage the pump while trimming. Once the sticker fits correctly, you’re ready to plan its placement.
Placement Guide
Set your pump on a flat, well-lit surface. Look for key alignment points like the screen opening, button cutouts, and port openings. Hold the sticker above the pump to visualize how it will look before sticking it down. This step helps ensure proper positioning.
Application Steps
Once you've confirmed the size and alignment, follow these steps to apply the sticker smoothly and avoid air bubbles:
- Peel and anchor: Start by peeling back a small corner of the sticker's backing to expose the adhesive. Use this exposed section to anchor the sticker in place.
- Align and press: Position the exposed adhesive at one end of the pump. Press firmly in the center and smooth outward toward the edges.
- Apply gradually: Slowly peel away the rest of the backing while pressing the sticker onto the pump in small sections.
If you notice air bubbles, gently push them toward the edges with a flat tool. For stubborn bubbles, pierce them with a clean pin or use a hair dryer on low heat, holding it 3–4 inches away.
This step-by-step process ensures a secure and smooth finish that lasts.
Making Stickers Last
Keep It Dry
To ensure stickers stick around longer, keep them dry. If you're engaging in water activities like bathing or sports, disconnect your pump at the infusion site and store it in a cool, dry, shaded area.
Steer clear of exposing your pump to products like sunscreen, body lotions, or bug sprays. Always wash your hands before handling the pump, and make sure to press down the sticker's edges to improve its durability.
Secure the Edges
Temperature plays a big role in how well stickers adhere. For best results, apply stickers when the temperature is between 50°F and 90°F (10°C to 32°C). If you’re dealing with stubborn curved edges, grab a hairdryer. Set it to low heat, gently warm the vinyl until it softens slightly, then press it down firmly using a credit card or squeegee.
Daily Care Tips
Wipe down your pump with a damp cloth and mild soap, avoiding harsh cleaners that could damage the sticker. On hot days, keep your pump in a shaded, cool spot. If you notice any edges lifting, fix them right away using the heating method mentioned earlier.
Fix Common Problems
Remove Air Bubbles
To get rid of small air bubbles, press them out using your thumb. Apply firm pressure and push the air toward the nearest edge, starting from the center. Alternatively, you can use a credit card or squeegee for this task.
If a bubble is stubborn, use a hair dryer on low heat. Hold it a few inches away and warm the area for 3–5 seconds. Then, press the bubble toward the edge with a credit card or squeegee. If the bubble still won’t budge, carefully poke a small pinhole at the edge using a straight pin to release the trapped air.
If your issue goes beyond air bubbles, the following steps can help with sticker removal.
Sticker Removal
Start by peeling a corner of the sticker at a 45° angle. If it’s difficult to peel, use a hair dryer on low heat to soften the adhesive. Once the adhesive loosens, continue peeling. Any leftover residue can be gently scraped off with a plastic tool.
For tougher residue, dab a small amount of cooking oil onto a cotton pad and apply it to the area. Let it sit for 2–3 minutes, then wipe it clean with a soft cloth. To finish, wash the surface with mild soap and water to remove any oil residue.
Important: Avoid using harsh chemicals or sharp metal tools on your pump, as they could cause damage.
Conclusion
Quick Tips Review
Applying stickers successfully starts with proper surface preparation. Make sure to clean the surface thoroughly and dry it completely using a lint-free cloth - this step is key for ensuring the sticker sticks well.
When peeling the sticker, go slowly from the edges to preserve the adhesive. Press it down starting from the center and work outward, making sure the edges are securely sealed.
Here are the main points to keep in mind for durability:
- Clean the surface properly
- Use a lint-free cloth to dry it fully
- Peel the sticker carefully
- Apply pressure evenly
- Secure all edges tightly
With these steps, you're all set to personalize your device with confidence.
Getting Started
Starting with the basics will set you up for success. If you're new to this, begin with smaller stickers and focus on preparing the surface well.
Made a mistake? No worries - take your time to reposition the sticker and try again. Each attempt sharpens your skills, and the effort you put in will pay off with a polished, long-lasting design for your device.
Related posts
- "Top Reasons to Try Tandem Mobi Stickers for a Stylish Look"
- "Tandem Mobi Stickers: Fun Designs for Every Personality"
- "Mix and Match: Tandem Mobi Stickers to Showcase Your Style"
- "Sweat-Proof and Waterproof Tandem Mobi Stickers for Active Days"