
· By Shopify API
Hacks for Seamlessly Removing OmniPod Patches
Removing OmniPod patches can be tricky, but with the right approach, it gets much easier. Here’s what you need to know:
- Common Issues: Skin irritation (50-80% of users), leftover adhesive, and tough adhesive bonds.
-
Simple Prep Steps:
- Gather tools like adhesive remover wipes, baby oil, and warm compresses.
- Remove patches after a warm shower or in the evening when you're relaxed.
-
Best Removal Methods:
- Use a warm compress to loosen adhesive.
- Apply natural oils (coconut/olive oil) or medical adhesive removers.
- Peel slowly at a 180-degree angle to avoid skin irritation.
-
Post-Removal Skin Care:
- Clean leftover adhesive with oils or adhesive removers.
- Soothe skin with products like jojoba oil or rose water.
- Let the area rest before applying a new patch.
Quick Tip: Rotate patch sites and use skin barriers to prevent irritation and make future removals easier.
Follow these steps to remove OmniPod patches gently and keep your skin healthy.
😲Omnipod 5 Removal😳

Before You Remove the Patch
Getting ready properly can help make patch removal easier and reduce the chance of skin irritation.
Tools and Materials You’ll Need
Having the right items ready can make the process smoother. Here’s what you might need:
| Must-Have Items | Optional Extras | Clean-Up Supplies |
|---|---|---|
| Adhesive remover wipes | Baby oil | Clean washcloth |
| Cotton balls/pads | Skin moisturizer | Mild soap |
| Medical tape remover | Warm compress | Clean towel |
| Gentle cleanser | Hair dryer | Gauze pads |
Keep these items in one place, so they’re easy to grab when you need them.
Best Times to Remove a Patch
Timing matters when it comes to patch removal. Here are some good moments to do it:
- After a warm shower when your skin is clean, and pores are open
- In the evening when you’re not rushed
- In a well-lit area with a mirror nearby
- When your skin is dry and at a comfortable temperature
Making the Adhesive Easier to Remove
-
Warm Compress Method
Hold a warm compress against the patch edges for 3–5 minutes. This helps loosen the adhesive. -
Using Oil
Dab a bit of baby oil or adhesive remover around the edges of the patch. Let it sit for 2–3 minutes to break down the adhesive. -
Slow and Gentle Removal
Start peeling from one corner and work the oil or adhesive remover under the patch as you go. Pay attention to how your skin reacts, and avoid pulling too hard to prevent irritation.
Tip: Everyone’s skin is different. Experiment with combining methods, like using both warmth and oil, to find what feels most comfortable for you.
Step-by-Step Removal Methods
Now that you're prepared, follow these methods to remove patches safely and effectively.
Basic Removal Technique
Start by washing your hands thoroughly. Find a slightly loose corner of the patch, press gently around it, and peel it back slowly at a 180-degree angle. This approach reduces tension and helps prevent discomfort.
Here’s how to do it:
- Identify a loose corner of the patch.
- Use one hand to hold your skin taut.
- Peel the patch back at a 180-degree angle.
- Go slowly and steadily for the best results.
Using Natural Oils
Natural oils like coconut or olive oil can help loosen adhesives. Apply a small amount around the edges of the patch and give it time to work.
| Oil Type | Application Method | Wait Time |
|---|---|---|
| Coconut Oil | Massage with fingers | 3–4 minutes |
| Olive Oil | Dab using a cotton ball | 2–3 minutes |
Let the oil sit for the recommended time to soften the adhesive before peeling.
Medical Adhesive Removers
For more stubborn patches, medical adhesive removers are a faster option. These products are designed specifically for breaking down adhesives used in medical patches.
Steps to use adhesive removers:
- Pick a skin-friendly product like Sting-Less Adhesive Remover or Detachol.
- Use a cotton swab to apply the remover to the edges of the patch. Let it soften the adhesive.
- Slowly peel the patch away, reapplying the remover as needed to avoid pulling on your skin.
Pro Tip: Adhesive remover wipes are a handy addition to your diabetes care kit. They’re compact, easy to use, and perfect for quick patch changes or travel emergencies.
Post-Removal Skin Care
Taking care of your skin after removing a patch is just as important as preparing for its removal. Quick and proper post-care can help reduce irritation and support healing.
Remove Leftover Adhesive
Once the patch is off, clean away any sticky residue. Use a cotton ball with a gentle adhesive remover specifically made for medical devices, applying it in small circular motions.
For tougher residue, try this method:
- Apply a small amount of household oil (like baby oil, coconut oil, or olive oil) to the area.
- Let the oil sit for 2–3 minutes to loosen the adhesive.
- Gently wipe the area clean with a soft cloth.
- Wash the skin with warm, soapy water.
- Pat the area dry with a clean towel.
Once the adhesive is gone, it’s time to focus on soothing and treating your skin.
Skin Treatment Tips
Caring for your skin after patch removal helps prevent irritation and supports recovery. Choose treatments based on what your skin needs:
| Treatment Type | Benefits | Application Tips |
|---|---|---|
| Botanical Oils | Helps reduce inflammation and fight bacteria | Apply a thin layer and massage gently. |
| Rose Water | Calms redness and protects against infection | Spray onto the skin or use a cotton ball to dab it on. |
| Jojoba Oil | Moisturizes and mimics natural skin oils | Use sparingly and pat into the skin. |
| Triple Antibiotic Ointment | Protects against infection and aids healing | Apply a thin, even layer. |
"Jojoba oil is known for being anti-inflammatory, anti-microbial (an added wound-healing benefit), anti-bacterial, hypoallergenic, and is the oil that most mirrors our own skin's natural oils. It's also an excellent moisturizer!"
– Denise Baron, Wellness Expert and Ayurvedic Practitioner
Rest Period Guidelines
Give your skin time to recover after patch removal. To protect the area, follow these steps:
- Avoid harsh cleansers, alcohol, or peroxide on the site.
- Apply a thin layer of petroleum jelly or antibiotic ointment to soothe and shield the skin.
- Use protective barriers like 3M Cavilon No-Film Spray or Tegaderm Dressings for added protection.
For areas that are especially sensitive or irritated, hydrocolloid dressings can help keep the skin moist and prevent further discomfort.
Dealing with Hard-to-Remove Patches
Sometimes, patches can be tricky to remove. When standard methods aren't enough, these advanced approaches can help:
Heat Application Methods
If a regular warm compress doesn’t do the job, try using a warm, damp washcloth. Press it against the patch edges for 3–5 minutes. This helps loosen the adhesive by softening the bonds naturally.
Soaking Techniques
When heat alone isn’t effective, lift one edge of the patch and apply a small amount of baby oil, warm water, or an oil-based adhesive remover underneath. Let it sit for a few moments before trying to remove the patch. If this still doesn’t work, move on to a stronger adhesive remover.
Strong Adhesive Removers
For especially stubborn patches, medical-grade adhesive removers can be a great option. Products like Sting-Less Adhesive Remover are known to work well with OmniPod patches. This remover is gentle on the skin, has a citrus scent, and comes in both bottle and wipe forms. To use, apply the remover around the patch edges and wait 30–60 seconds. Then, carefully peel the patch from one corner, reapplying the remover as needed. Once the patch is removed, clean the area thoroughly to remove any residue.
Tips to Make Future Removals Easier
Making small adjustments to how you place and manage your Pods can help avoid removal issues and keep your skin healthy.
Site Rotation Schedule
Rotating your Pod placement regularly is key to avoiding adhesive buildup and skin irritation. Aim to place each new Pod at least 1 inch (2.5 cm) away from the previous site. Both the Omnipod DASH® and Omnipod® 5 systems include a built-in site tracker to help you stick to a consistent rotation routine.
Here are some placement tips:
- Keep Pods at least 2 inches (5 cm) away from your belly button.
- Avoid placing Pods over moles, tattoos, or scars.
- Choose areas with enough fatty tissue for better insulin absorption.
- Use the Pod site tracker in your device to log each placement.
Taking these steps ensures better skin health and easier future removals.
Skin Protection Options
Using a protective barrier can make wearing and removing your Pod more comfortable. Products like 3M Cavilon No Sting Barrier Wipes or Spray create a thin layer between your skin and the adhesive, helping to prevent irritation and making removal easier.
- Apply a barrier film before attaching your Pod.
- Let the barrier dry completely before placing the Pod.
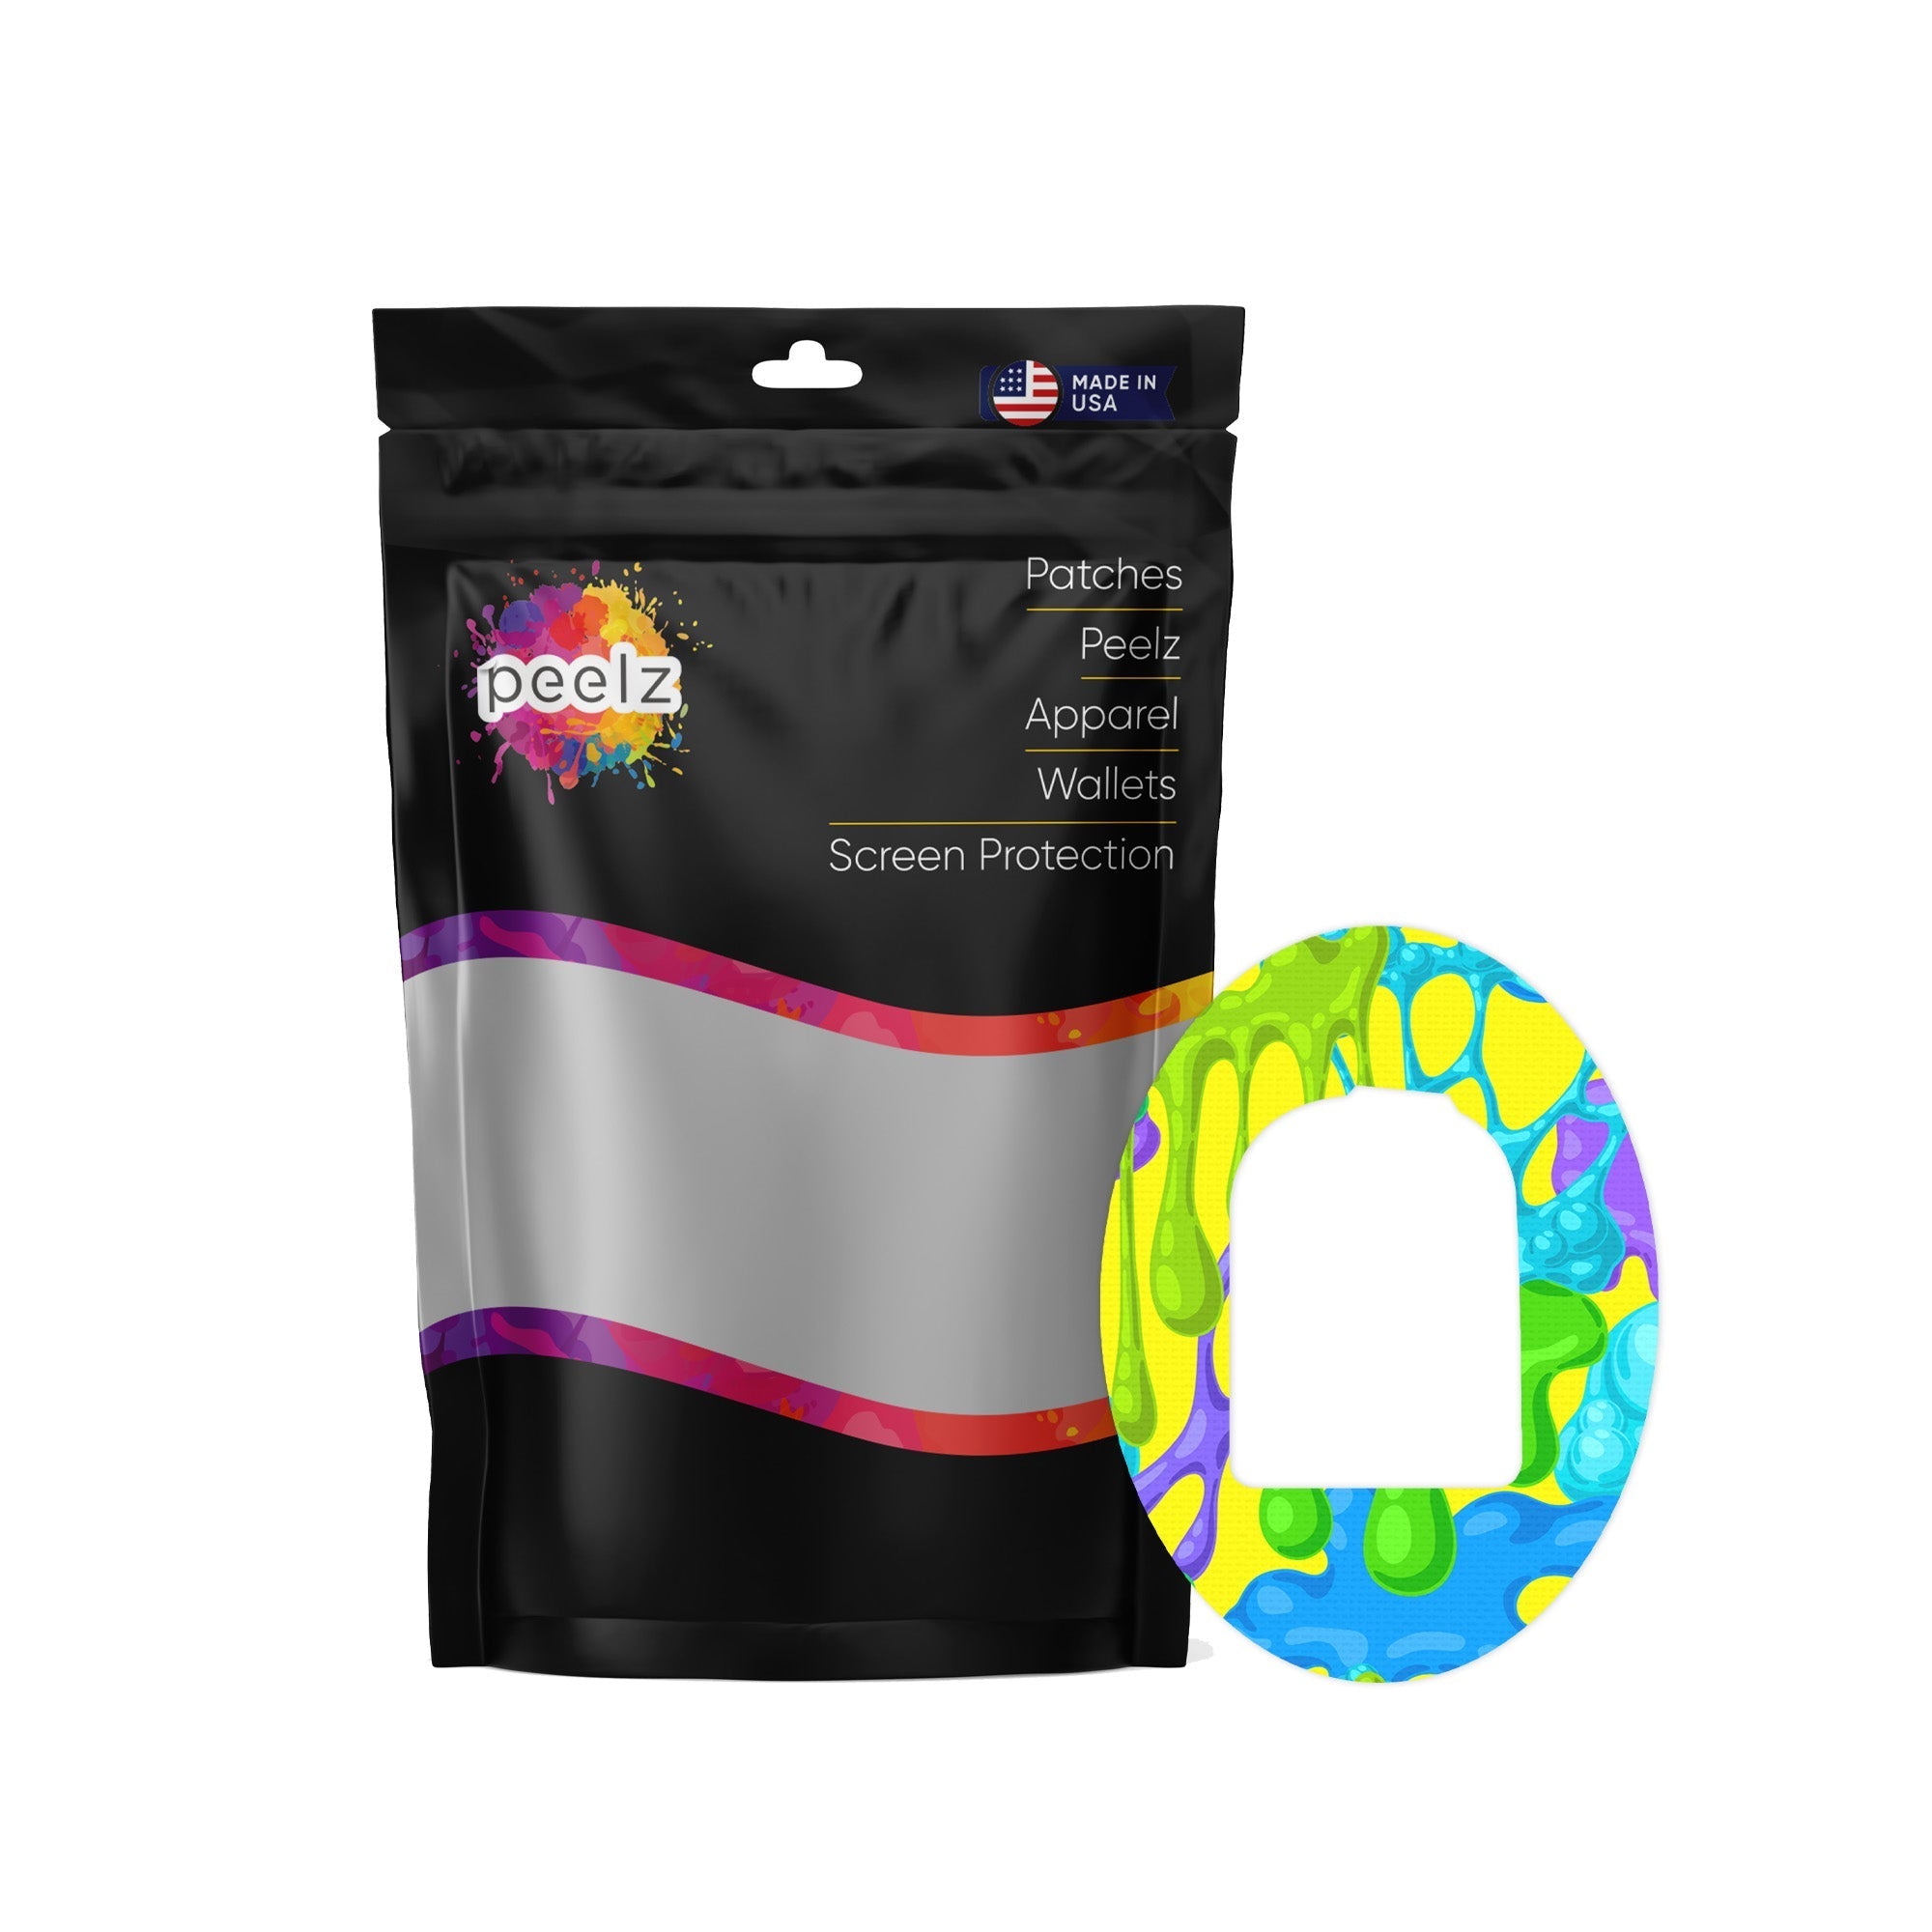
- Consider Pump Peelz overlay patches, designed with adhesives for sensitive skin.
These options can help protect your skin and improve the experience of using Pods.
Correct Application Steps
Proper application of your Pod can make removal much simpler. Follow these steps for the best results:
-
Hair Management
Trim or shave the application site at least 24 hours before attaching the Pod. -
Skin Preparation
Use an alcohol swab to clean the area, removing any oils, lotions, or sunscreen. Allow the site to air dry completely. -
Temperature Consideration
Make sure your skin is cool and dry before applying the Pod. If you've just showered or exercised, wait until your skin returns to room temperature.
Key Points for Easier Patch Removal
Removing an OmniPod patch doesn’t have to be uncomfortable. According to a recent Instagram survey, 85% of respondents reported issues with device adhesives, making proper removal techniques crucial for maintaining healthy skin.
Here’s how you can make the process smoother and gentler:
- Use a protective barrier before applying the patch to reduce adhesive contact.
- Try mineral-based removers with citrus oils to help break down adhesives.
- Apply botanical oils like castor oil, coconut oil, or hemp oil to soothe the skin after removal.
- Use TacAway Adhesive Remover Wipes to simplify the removal process by loosening the adhesive.
- Opt for hypoallergenic patches if you have sensitive skin.
For long-term skin health, remember to rotate application sites regularly and follow proper patch application techniques.
Everyone’s skin reacts differently. If irritation continues, it’s a good idea to consult your healthcare provider.
Related posts
- "Troubleshooting OmniPod Patches: Common Issues and Solutions"
- "Dexcom G6 Patches: Application Tips for Sensitive Skin"
- "Maximizing the Lifespan of Your OmniPod Patches"
- "Latex-Free OmniPod Patches: Comfort for Everyone"
