


· By Shopify API
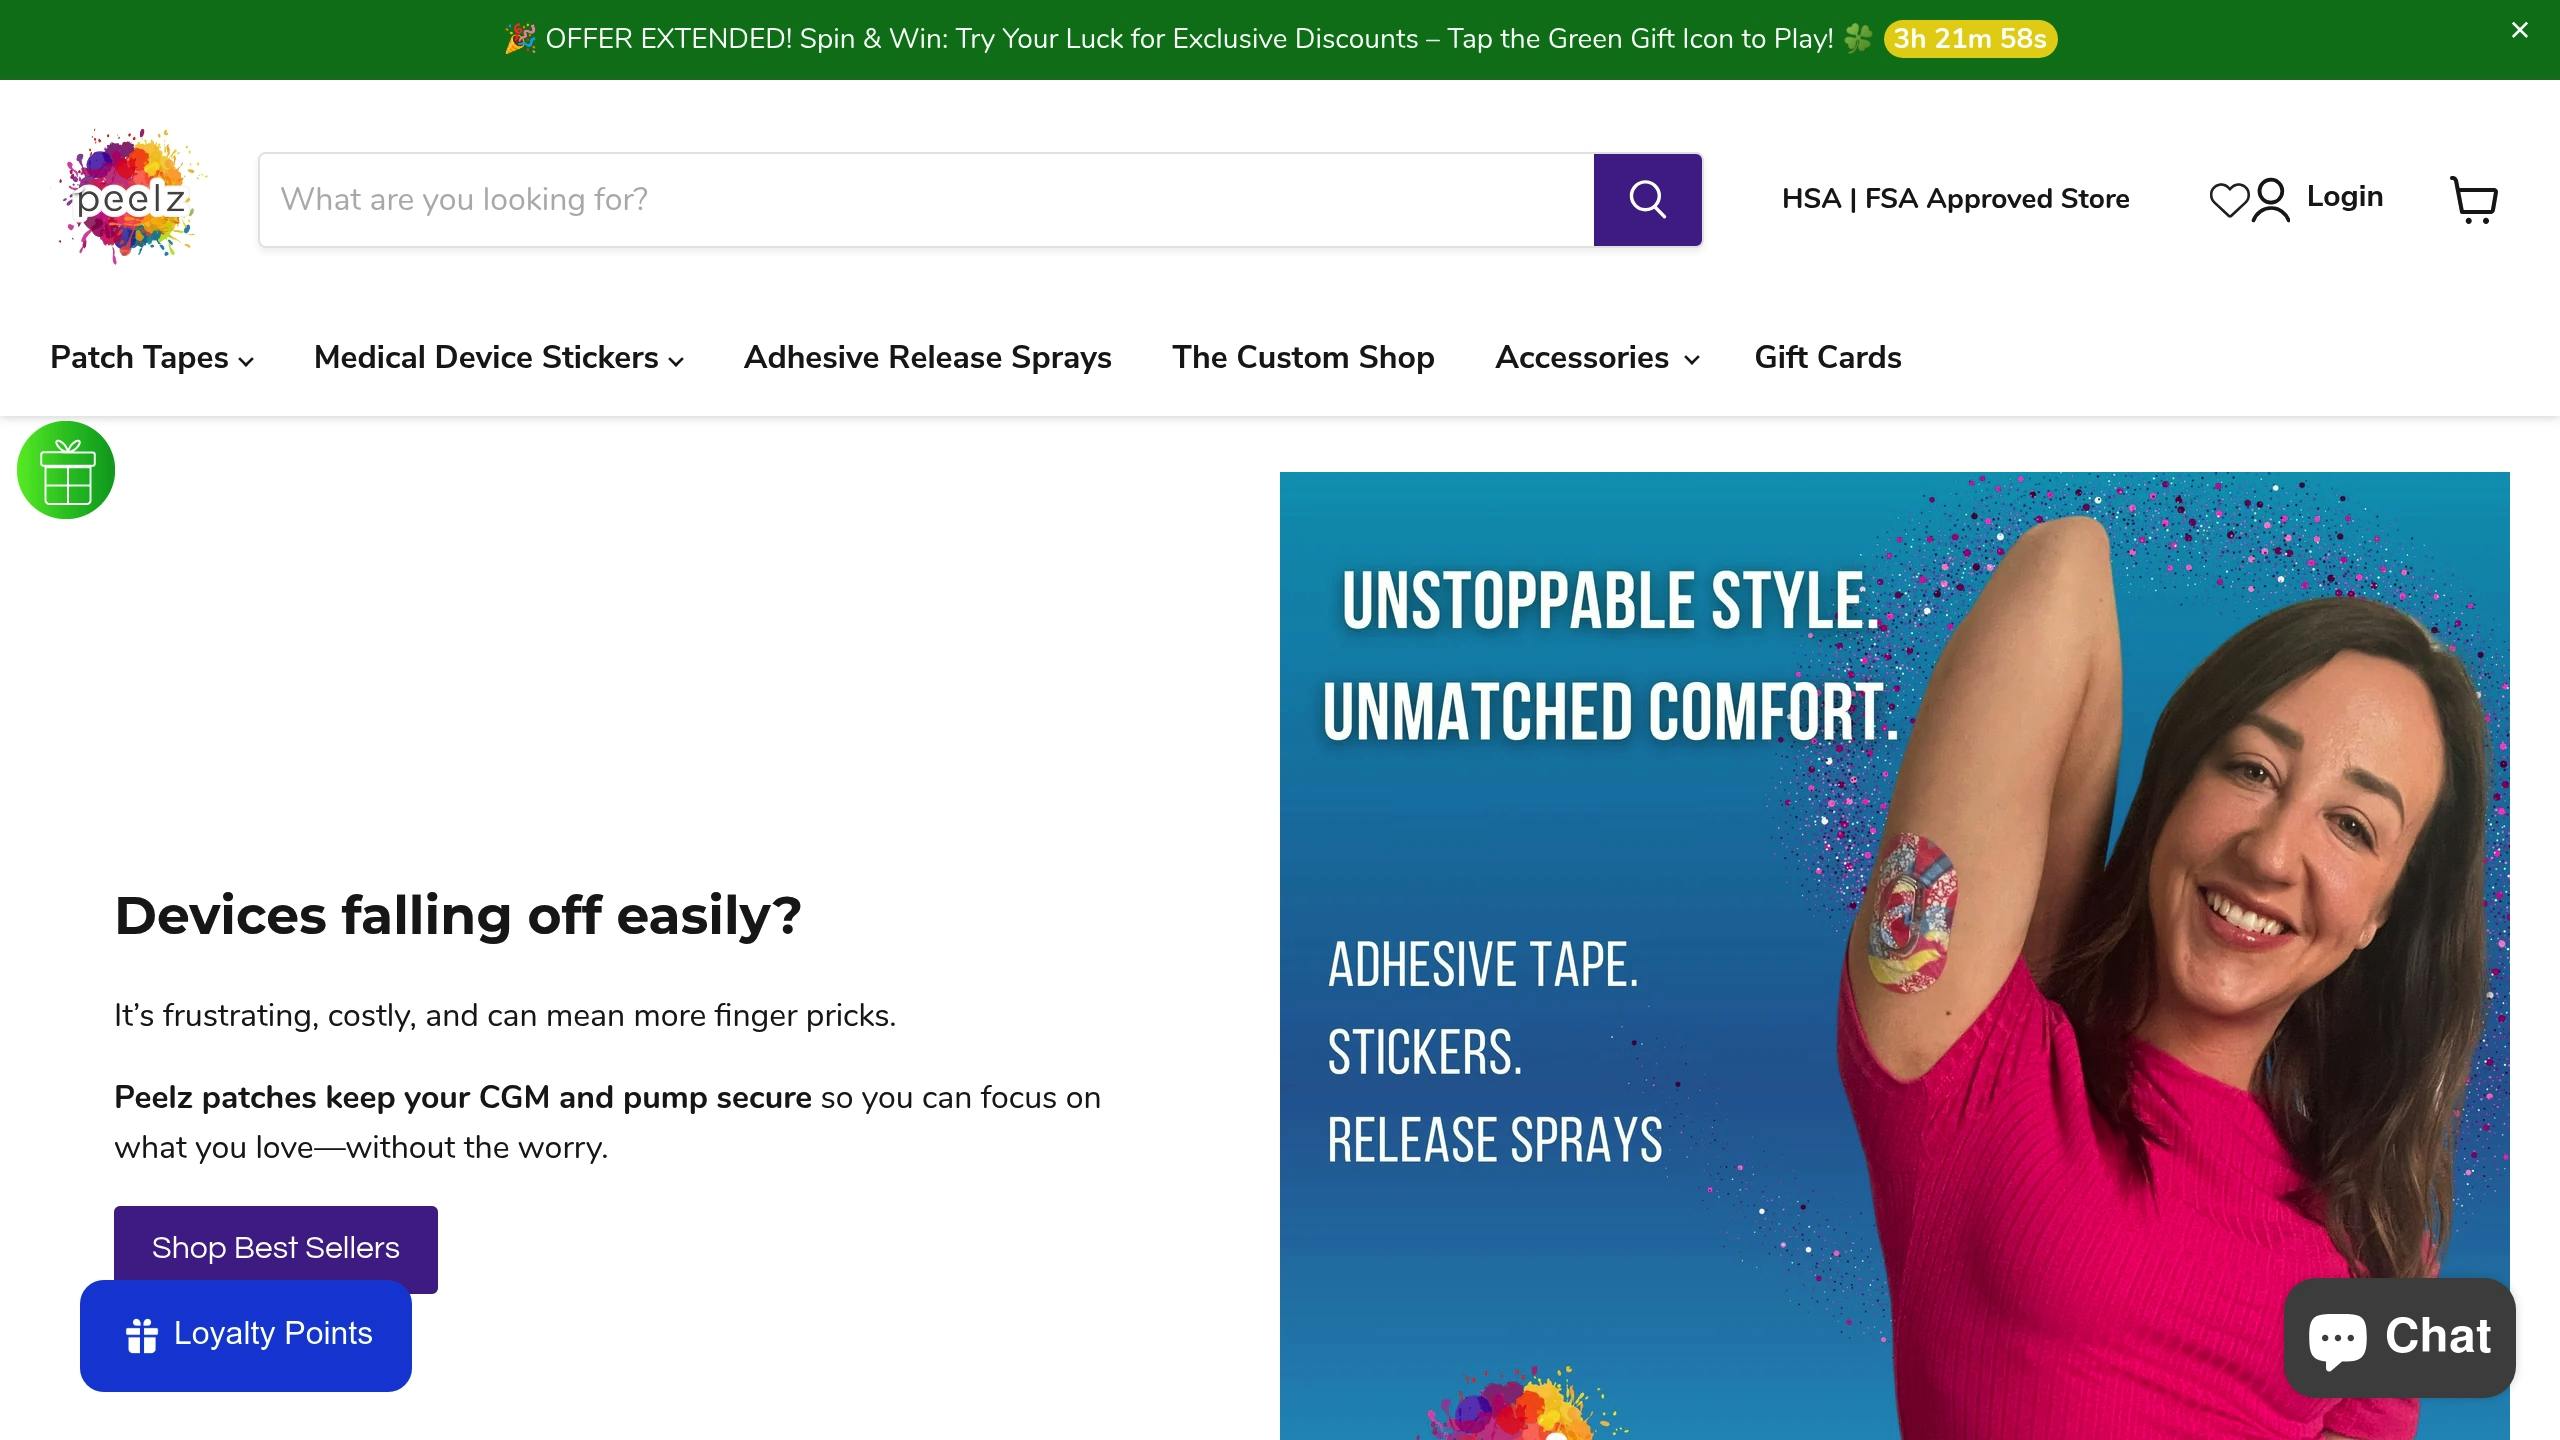
Maximizing the Lifespan of Your OmniPod Patches
Want your OmniPod patch to stay secure for the full 3 days? Here's how you can achieve that with proper skin prep, application techniques, and daily care. Follow these steps to ensure consistent insulin delivery and protect your investment:
- Prep Your Skin: Clean with mild soap, sanitize with alcohol swabs, and use a barrier product like Skin Tac or Smith & Nephew Skin-Prep to improve adhesion and protect your skin.
- Apply Correctly: Choose flat areas like arms, abdomen, or back, avoiding moles, scars, or folds. Press firmly for 10–20 seconds after placing the patch.
- Protect from Water & Sweat: Use waterproof overlays for swimming and exercise. Pat dry after exposure to water.
- Daily Maintenance: Check for peeling edges or irritation, clean gently with a dry cloth, and secure lifting edges with adhesive or medical tape.
How to Apply the Omnipod Patch

Skin Prep Steps for Better Adhesion
Getting your skin ready is key to making your OmniPod patch stay put longer. A good prep routine not only improves adhesion but also helps prevent skin irritation.
Clean and Dry Your Skin
Start by cleaning the area thoroughly with a mild, unscented soap to remove oils and residue. Options like Ivory Mild & Gentle Fragrance-Free Body Wash or unscented Castile soap work great for this. Focus on a tennis ball–sized area where you'll apply the pod.
After washing, use an alcohol swab to sanitize the site. Let the area air dry completely - no touching or blowing on it.
Remove Dead Skin and Apply a Barrier
Make sure the skin is smooth and hair-free. If shaving is necessary, do it 24 hours ahead of time to avoid irritation. This gives your skin time to recover before applying the pod.
Next, apply a barrier product to protect your skin and improve adhesion. Here are some popular choices:
| Barrier Product | Key Benefits | Average Cost |
|---|---|---|
| Smith & Nephew Skin-Prep | Breathable barrier, 4.7/5 stars (8,210 ratings) | $7.51/50 wipes |
| Skin Tac Adhesive Wipes | Hypoallergenic, creates a tacky surface | $6.00/10 wipes |
| 3M Cavilon No Sting | Long-lasting protection | Available through medical suppliers |
"Skin-Prep allows skin to breathe so tapes and films adhere better and longer. Enhanced adhesion increases the interval between dressing changes to save nursing time", according to the Smith & Nephew product description.
If you have sensitive skin, you might want to combine methods. Apply the barrier product, let it dry completely, and consider adding a skin-friendly underpatch for extra protection.
Once your skin is ready and protected, you're all set to move on to applying the patch correctly.
Correct Patch Application Methods
Learn how to properly place and secure your OmniPod for the best wear and performance.
Where to Place Your Patch
Choosing the right spot is key to keeping your Pod secure. You can place it anywhere you'd normally inject insulin. Here's a quick guide:
| Body Area | Recommended Position | Key Considerations |
|---|---|---|
| Arms & Legs | Vertical or slight angle | Avoid areas with skin folds, like the inner thighs. |
| Back & Buttocks | Horizontal or slight angle | Pick flat areas away from tight clothing or waistbands. |
| Abdomen | Horizontal or slight angle | Keep at least 2 inches away from your navel. |
Tips based on OmniPod's official advice:
- Use new sites at least 1 inch away from previous placements.
- Avoid moles, tattoos, scars, or skin folds.
- Pick flat areas to minimize snagging on clothing.
- For OmniPod® 5 users, place your Pod and sensor on the same side of your body.
Once you've picked the right spot, follow these steps to ensure it stays in place.
Add Extra Adhesive Support
After choosing your site, follow these steps to secure the Pod:
- Smoothly place the Pod on your skin.
- Run your finger along the adhesive edge 2–3 times to make sure it sticks well.
- Apply firm pressure with your palm for 10–20 seconds after inserting the cannula.
"If the insertion site is very lean or does not have much fatty tissue, pinching up the skin during insertion is critical", according to OmniPod's official guidelines.
For lean areas, gently pinch the skin around the viewing window. This helps with proper cannula placement and lowers the chance of early detachment.
Avoid these common mistakes:
- Applying the Pod to damp or warm skin.
- Using lotions, oils, or sunscreen near the site.
- Choosing areas exposed to frequent friction or movement.
- Placing it where clothing might rub or bump repeatedly.
sbb-itb-b85a8ed
Shield Your Patch from Outside Elements
Once you've properly prepped your skin and applied the patch, these extra steps can help keep it secure through daily wear. The Pod is rated IPX8, meaning it can be submerged in water up to 25 feet deep for 60 minutes.
Water and Sweat Protection
Water activities and exercise can challenge your Pod's adhesion. Here's how to protect it:
Before getting wet:
- Clean the application site with an alcohol swab and let it dry completely.
- Apply waterproof adhesive overlays for extra security.
After swimming or showering:
- Gently pat the patch area dry with a towel.
- Inspect the adhesive edges to ensure they haven't started to lift.
In addition to water and sweat, heat and sunlight can also impact the patch's adhesion.
Sun and Heat Protection
Protecting your Pod from sun and heat requires a slightly different approach:
- Use alcohol swabs to remove sunscreen residue from the application area before applying the patch.
- If available, consider using heat-resistant adhesive products.
Important tips:
- Avoid applying bug sprays or sunscreen directly on the Pod, as these can damage the casing and reduce water resistance.
- Keep the Pod out of extreme heat when outdoors to prevent adhesion issues.
For added durability, OmniPod patches provide both waterproof and sweat-proof properties.
Helpful Tools and Add-ons
Accessories can help extend the life of your OmniPod patch while adding a touch of style. Here’s a breakdown of tools that improve adhesion and offer extra protection.
Pump Peelz Protective Covers
Pump Peelz creates adhesive patches that combine durability with stylish designs. They use medical-grade, waterproof adhesives to keep your device secure.
| Product Type | Price Range | Key Features |
|---|---|---|
| Standard Patches | $13.99 - $35.99 | Medical-grade adhesive, waterproof |
| Variety Packs | $34.99 | Multiple designs, bulk savings |
| Custom Designs | From $24.99 | Personalized options for unique looks |
Tip: Sign up for Pump Peelz's subscription service to save 15% on your orders and get free shipping - perfect for long-term use.
Extra Adhesive Products
For better adhesion, consider these products:
- Torbot Skin Tac™: Creates a tacky barrier for stronger adhesion.
- AllKare® Wipe: Gentle on sensitive skin while improving patch stickiness.
- Overlays: Options like 3M™ Tegaderm™ HP
Important: Ensure decorative covers don’t interfere with the Pod’s key features, like the camera or sensors, to maintain full functionality.
Next, check out daily care tips to keep your patch secure and performing well.
Daily Patch Care Tips
Taking care of your patch daily is key to keeping it securely in place and ensuring it lasts as long as needed.
Inspect and Clean Every Day
Each morning, take a moment to check your patch for any signs of peeling edges, residue, moisture, or skin irritation. Use a dry cloth to clean the skin around the patch, but skip soaps or cleansers near it - they can weaken the adhesive. If dirt builds up, gently clean the area with a medical adhesive remover wipe to avoid damaging the patch.
| Area to Check | What to Look For | Action Needed |
|---|---|---|
| Patch Edges | Peeling or lifting | Add adhesive or reinforcement tape |
| Surrounding Skin | Dirt or residue | Wipe with a dry cloth |
| Under Patch | Sweat or moisture | Pat dry gently if accessible |
| Skin Condition | Redness or irritation | Keep an eye on any changes |
Handle Lifting Edges Right Away
If you notice the edges starting to lift, carefully trim any loose sections with sterile scissors. Apply a thin layer of adhesive to secure it, and if needed, add medical tape to hold it in place. Make sure not to block any important parts of the patch.
Consider carrying a small patch care kit with essentials like adhesive, scissors, and tape for quick fixes when you're on the go.
Conclusion
You can make your OmniPod patch last longer with the right prep, careful application, and regular maintenance. For added protection, consider using Pump Peelz covers. These covers not only add a touch of style but also offer waterproof protection for diabetes devices without affecting their function. To apply, peel back the backing from the center and smooth outward for the best fit.
Pay close attention to your routine. Rotate application sites consistently - place new patches at least 1 inch away from previous locations. This helps keep your skin healthy and ensures your patch works as intended throughout its use.
Details matter. Prep your skin with alcohol swabs, let it dry completely, and follow these steps to protect your device. By sticking to these methods, you can extend the life and performance of your patch while keeping your device secure during its wear cycle.
Related Blog Posts
- "Customizing Your Insulin Pump: The Ultimate Guide to OmniPod Patches"
- "Troubleshooting OmniPod Patches: Common Issues and Solutions"
- "Dexcom G6 Patches: Application Tips for Sensitive Skin"
- "The Best OmniPod Patch for Athletes: A Side-by-Side Review"